When it comes to enhancing the aesthetic appeal and functionality of your home, laying durable laminate flooring is a popular choice. However, the success of this project hinges on several essential steps that must be meticulously followed. As a professional with over 10 years of experience in interior renovations and woodworking, I understand the importance of each phase in the installation process. This article will guide you through the critical steps to ensure a successful laminate flooring project.
The first step in this journey is the importance of selecting high-quality laminate flooring materials. Not all laminate flooring is created equal; therefore, investing in high-quality materials can significantly impact the durability and longevity of your flooring. Look for products that are certified and have a good warranty. High-quality laminate not only withstands wear and tear but also enhances the overall look of your space.
Next, preparing the subfloor is crucial. A clean and level surface is essential for a successful installation. Before laying down your laminate, ensure that the subfloor is free from debris, dust, and any imperfections. If necessary, use a self-levelling compound to fill in any low spots. This preparation will prevent future issues such as warping or uneven surfaces.
Understanding moisture barriers is another vital aspect of laminate installation. Moisture can cause significant damage to laminate flooring, leading to swelling and warping. Installing a moisture barrier, especially in areas prone to dampness, will protect your investment. This barrier acts as a shield against moisture from the subfloor, ensuring that your laminate remains intact for years to come.
Equipping yourself with the right tools and equipment is essential for a successful laminate flooring project. As a professional handyman, I utilise top-of-the-line tools such as Bosch saws for precise cuts and DeWalt drills for secure fittings. Additionally, having a quality measuring tape and a level will help ensure accuracy throughout the installation process.
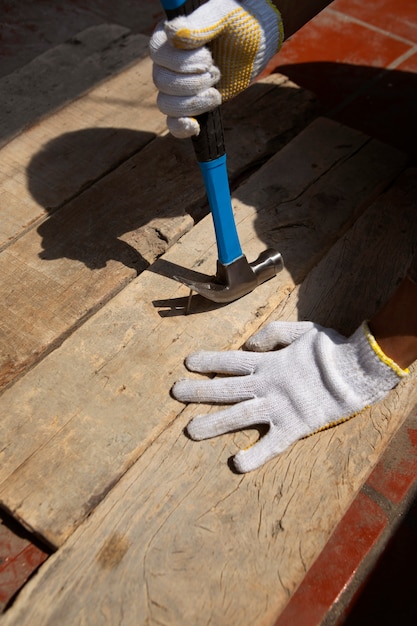
Before diving into the installation, it’s imperative to take safety precautions. Always wear protective gear such as gloves and safety goggles to safeguard against potential injuries. Ensure that your workspace is well-ventilated, especially when using adhesives or other chemicals. Following health and safety guidelines not only protects you but also ensures a safe environment for anyone else in the vicinity.
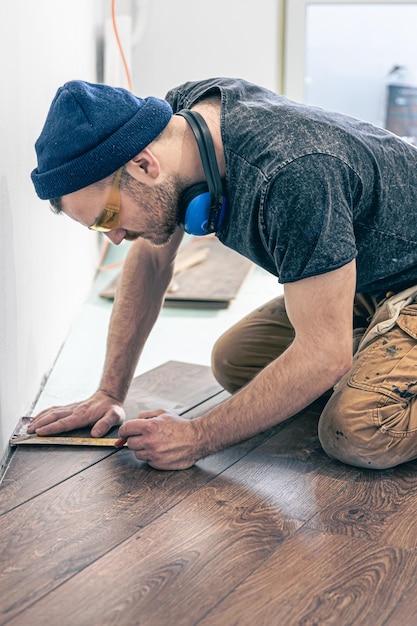
Measuring and planning the layout is another critical step for optimal aesthetics and functionality. Take accurate measurements of your room and plan the layout accordingly. Consider factors such as light direction and room shape to create a visually appealing design. A well-thought-out layout can enhance the overall look of your space while ensuring that the flooring is functional.
When it comes to cutting laminate planks accurately and safely, precision is key. I often use my Festool dust extraction sander to ensure clean cuts without creating a mess. This tool not only provides accuracy but also maintains a safe working environment by minimising dust exposure.
The significance of acclimating laminate flooring before installation cannot be overstated. Allowing your laminate planks to adjust to the room’s temperature and humidity levels for at least 48 hours will prevent future expansion or contraction issues. This step is crucial for maintaining the integrity of your flooring.
A step-by-step guide to installing underlayment for sound and thermal insulation is essential for enhancing comfort in your home. The underlayment acts as a cushion between the subfloor and laminate, providing sound insulation and thermal benefits. Ensure that you lay it out evenly, overlapping seams where necessary to create a seamless barrier.
Understanding proper installation techniques is vital, particularly when choosing between click-lock vs glue-down methods. The click-lock method is generally easier and quicker, allowing for a floating floor that can expand and contract naturally. On the other hand, glue-down methods provide a more permanent solution but require more time and precision during application.
Maintaining expansion gaps around walls and fixtures is crucial for allowing your laminate flooring to expand and contract with temperature changes. These gaps prevent buckling and ensure that your flooring remains intact over time. Use spacers during installation to maintain these gaps consistently.
Handling transitions between different flooring types effectively is another important consideration. Use transition strips to create a smooth transition between laminate and other flooring types, such as tile or carpet. This not only enhances aesthetics but also prevents tripping hazards.
Post-installation care involves cleaning and maintaining laminate flooring. Regular sweeping or vacuuming will help keep dirt and debris at bay, while occasional damp mopping will maintain its shine without damaging the surface. Avoid using harsh chemicals that could harm the laminate finish.
Common mistakes to avoid during laminate flooring installation include neglecting subfloor preparation or failing to acclimate the planks properly. These oversights can lead to significant issues down the line, including warping or uneven surfaces. Always take your time during each step to ensure quality results.
The benefits of hiring a professional for laminate flooring projects cannot be overstated. With my extensive experience in woodworking and carpentry, I ensure that every project adheres to health and safety standards while delivering exceptional quality. My professional tools, including Graco airless spray equipment for finishing touches, guarantee a flawless result that DIY efforts may not achieve.
If you’re considering laying durable laminate flooring in your home, don’t hesitate to reach out for professional assistance. You can message me directly on WhatsApp at 07728868401 for expert advice or to schedule a consultation. Together, we can transform your space into something truly remarkable.